Create an Online Store on LearnCan: Step-by-Step Guide
Create an online store on LearnCan step by step with screenshots: pick a shop type, add your details and first product with its margin, no code needed.
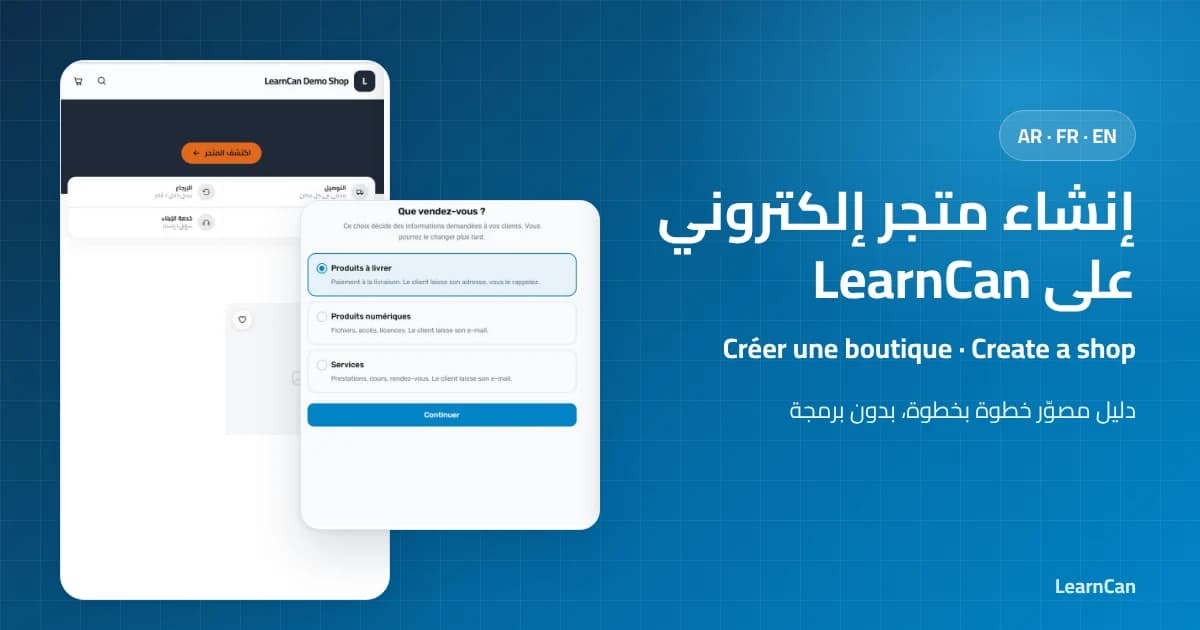
Want to sell your products or services online without paying a developer or setting up a complicated platform? This guide shows you how to create an online store on LearnCan step by step, with real screenshots of the site: from choosing your store type to adding your first product and seeing the storefront your customers will see. All you need is a LearnCan account and about ten minutes.
What is a LearnCan shop and who is it for?
A LearnCan shop is your own sales space inside the platform, with a link you share with customers, where you list your products or services, their prices and how to order. It suits small businesses, people selling digital products such as courses or templates, and service providers, with no code and no hosting to manage.
What you need before you start
- A LearnCan account: if you don’t have one yet, sign up first and log in.
- A clear shop name: it becomes your shop link, so keep it short and easy to remember.
- Your prices: purchase price and selling price, so the site can calculate your profit.
- Photos and a logo: optional at first; you can add them later.
How do I create an online store on LearnCan?
Tap the bag icon in the top bar to open the “My shop” page, then click the blue “Create a shop” button. The links for shop settings, products and orders are already there, but stay greyed out until your shop exists.
Create an online store: the steps
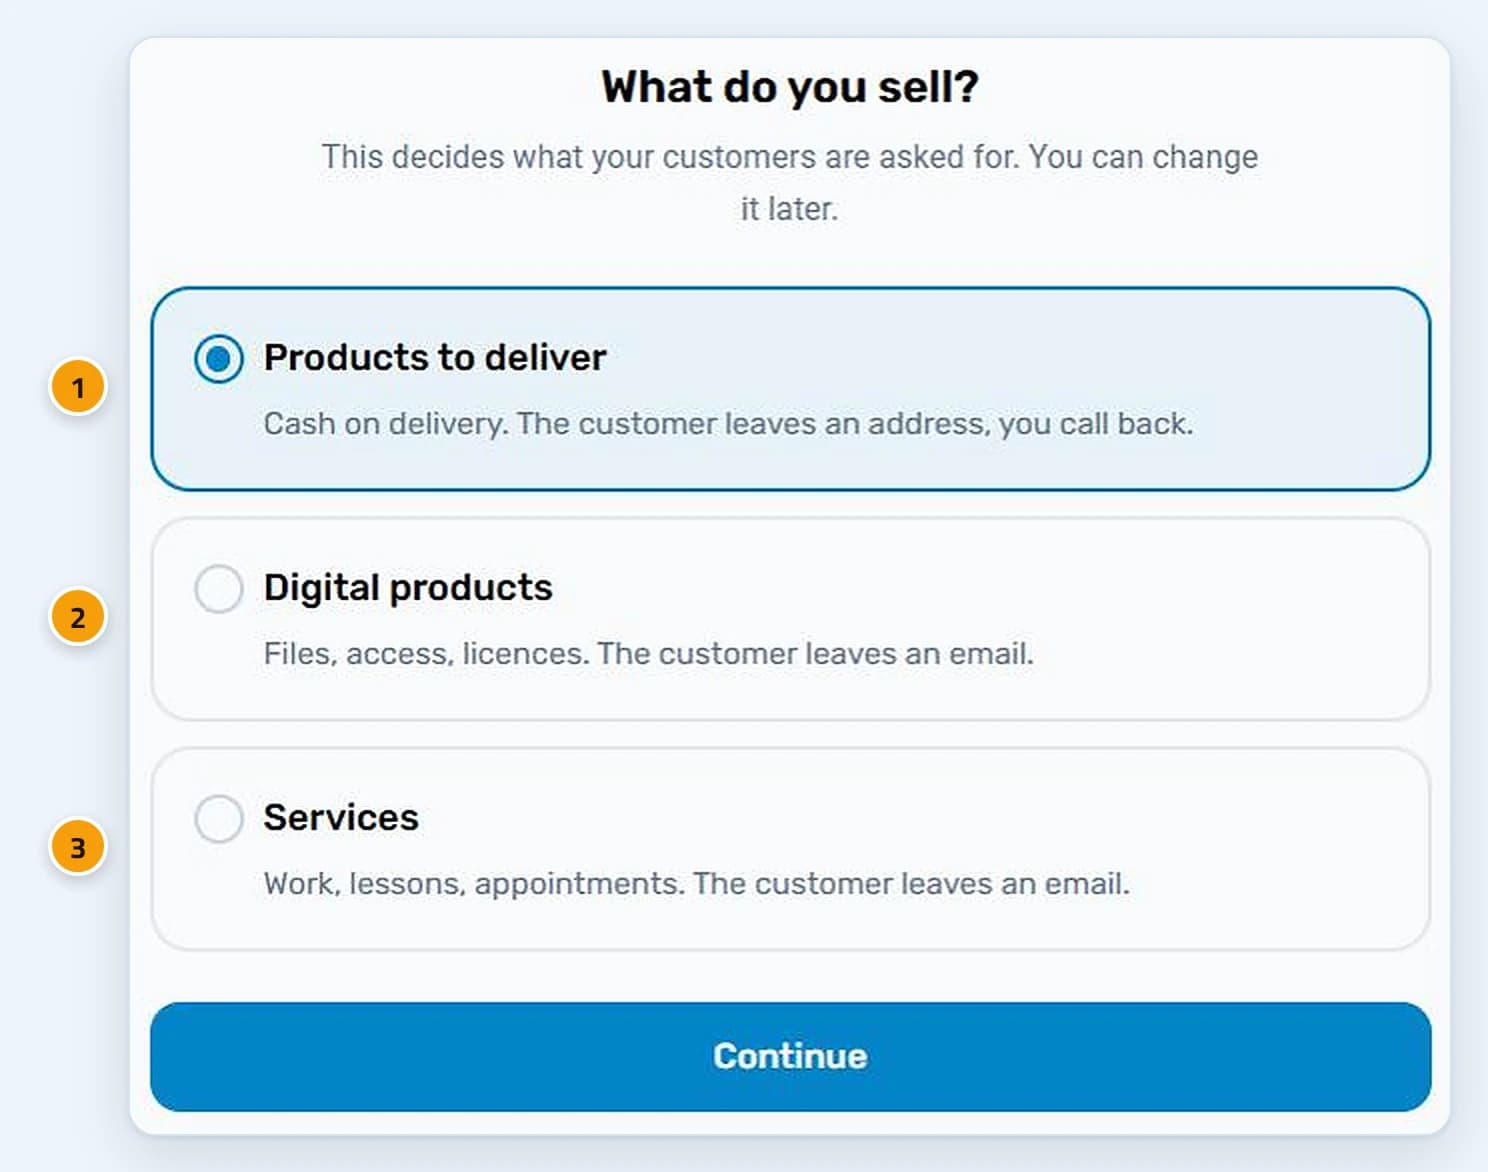
Step 1: choose what you sell. The site offers three types, and your choice decides what customers are asked for when they order. You can change it later. Then click “Continue”:
Type | How customers order | Best for |
|---|---|---|
Products to deliver | Cash on delivery: the customer leaves an address, you call back | Clothes, accessories, goods |
Digital products | The customer leaves an email | Files, access, licences |
Services | The customer leaves an email | Lessons, work, appointments |
Step 2: fill in your shop details. Only the name is required; everything else can be changed at any time:
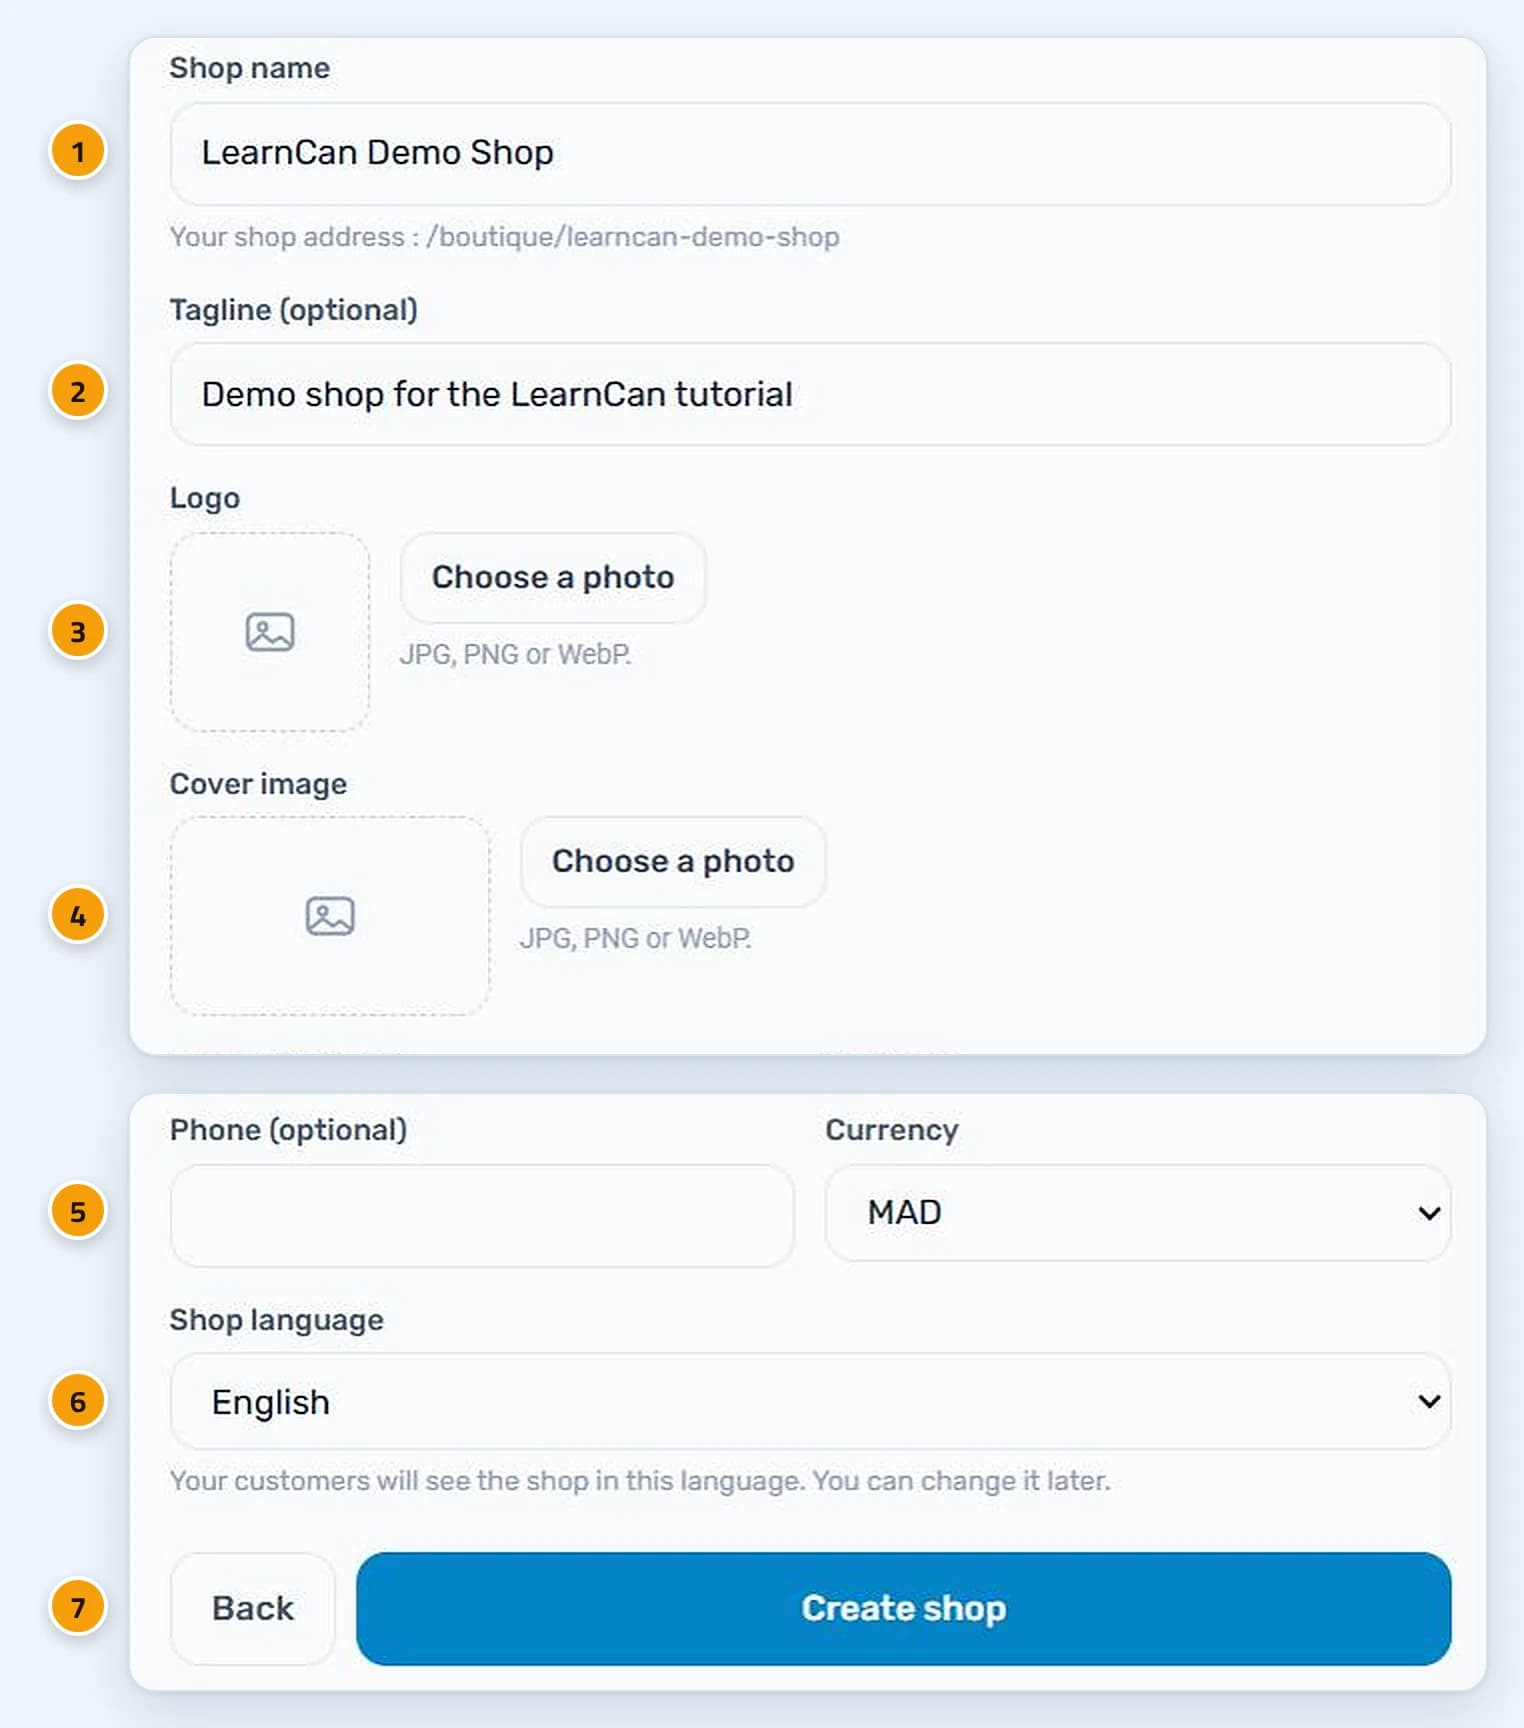
- Shop name: your shop link appears below it, for example learncan.com/boutique/your-shop-name.
- Tagline: one sentence that sums up what you sell, shown on your storefront.
- Logo and cover image: JPG, PNG or WebP, now or later.
- Phone and currency: the phone is optional; the suggested currency is the Moroccan dirham (MAD).
- Shop language: the language customers will see your shop in; you can change it later.
Step 3: click “Create shop”. The message “Your shop is created” appears with your shop link, a button to copy it, a “View my shop” button and an “Add my products” button.
What does “awaiting approval” mean?
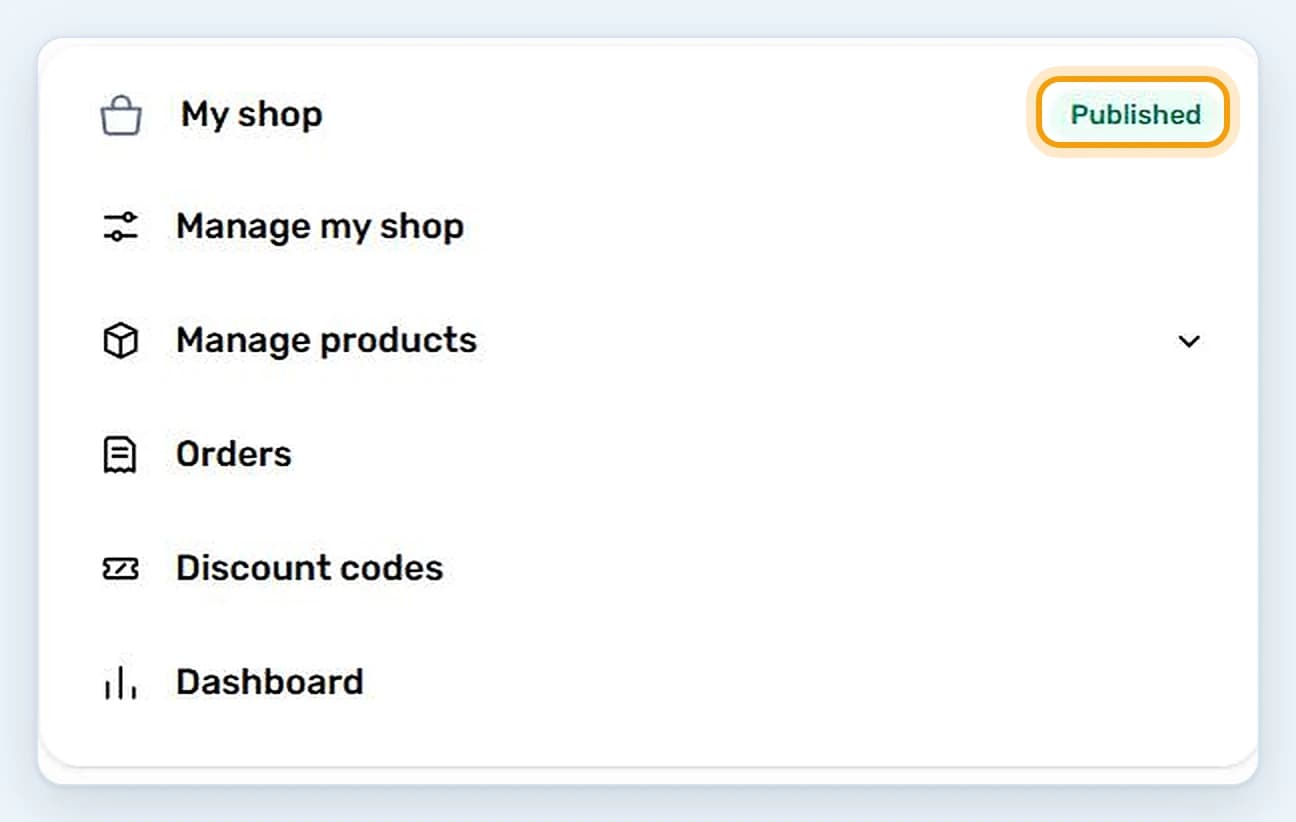
Every new shop is reviewed by the administration before it becomes public, to protect the quality of the platform and customers’ trust. Meanwhile you can already add your products. Once approved, a “Published” badge appears next to your shop and its link works for every visitor.
How do I add my first product?
In “Manage products”, choose “Products”, then “Add a product”. Enter the name and description, then the “Price and margin” section: the purchase price and charges stay private and never appear in the shop, and the site instantly calculates your profit. In our example, a mug bought for MAD 40 and sold for MAD 99 earns MAD 59 per piece, or 60%.
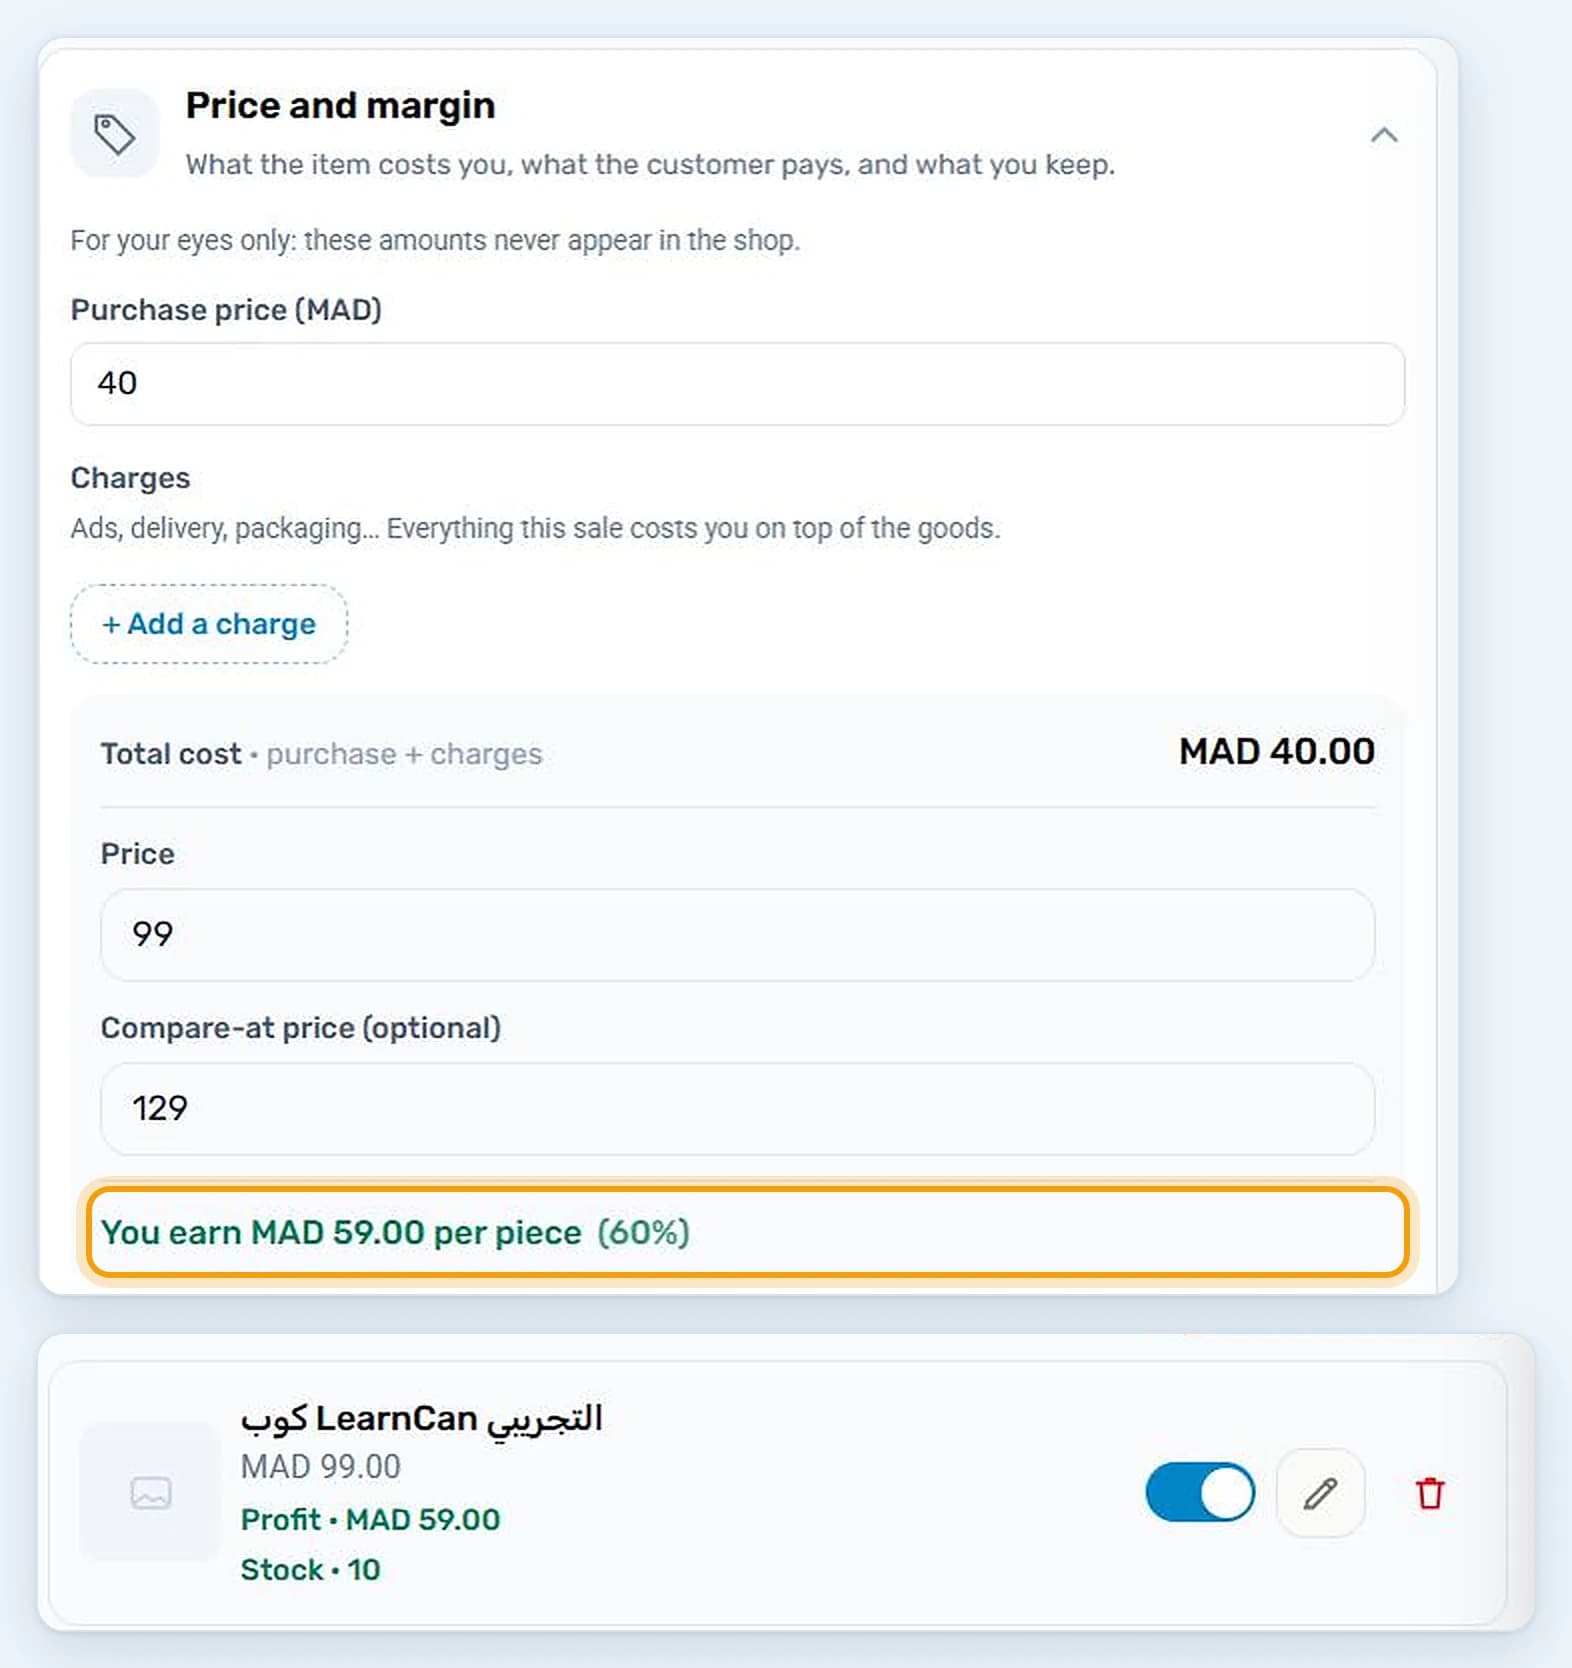
- Compare-at price: if you fill it in, the product shows a discount badge on your storefront.
- Stock: the number of items available, which drops when you mark an order as delivered.
- Delivery: free, paid, or free above a certain amount.
- Google listing: the page title and description shown in search results.
To write them well, follow Google’s advice: a distinct, descriptive title for every page and a unique description that accurately sums up the product. Once saved, the product appears in your list with its price, profit, stock and a switch to hide it.
Your storefront, as customers see it
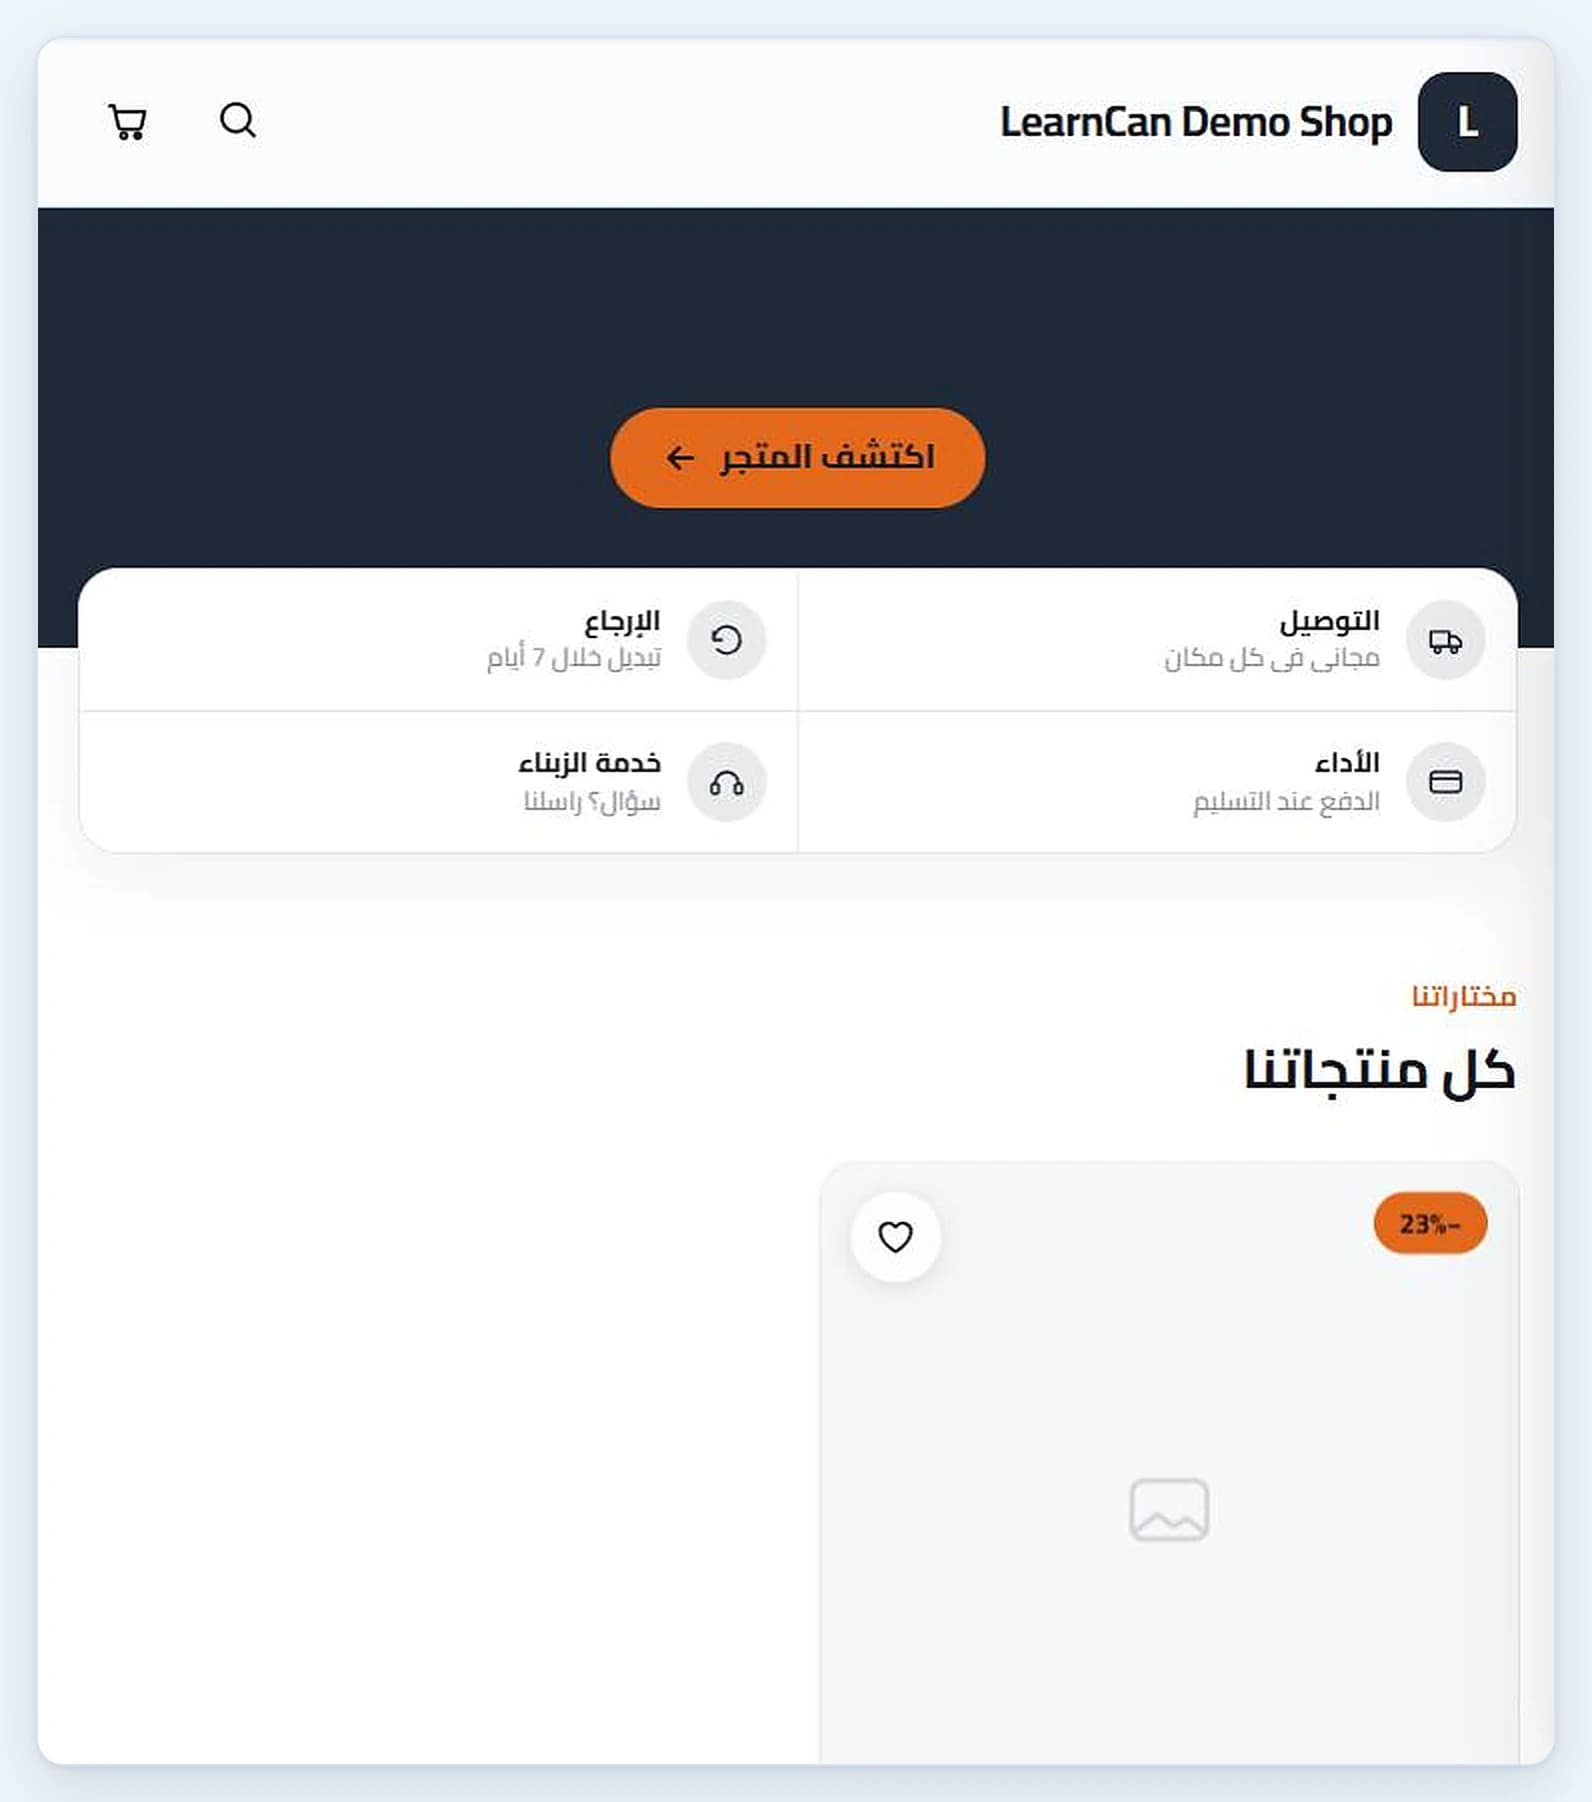
Open your shop link to see what customers see: the shop name, a button to browse the shop, the trust strip about delivery, payment and returns, then all your products with the discount badge. The storefront appears in the shop language you chose: Arabic here, the language of our demo shop.
Tips for a shop that sells
- Add real, sharp photos of every product: they often decide the sale.
- Start each description with the benefit, not only the technical details.
- Organise products into categories so customers find things fast.
- Use discount codes and flash sales to win your first customers.
- Check orders every day and call customers back quickly to confirm.
FAQ: creating an online store on LearnCan
Do I need to know how to code?
No. Everything is done with simple forms: the shop name and type, then your products and prices. No hosting and no technical settings.
When will my shop be visible?
After the administration approves it; its status shows on the “My shop” page. Use that time to add your products and photos.
Can I change the name or language later?
Yes. From “Manage my shop” you can edit the details, logo, cover and language whenever you like.
Summary
You can create an online store on LearnCan in three steps: the type, the details, then your products. Start now from the “My shop” page, and keep learning with the latest articles.